
Creating a clipping mask in InDesign is a little different from how you do it in all the other Adobe tools.
I personally always fight when I have to create a clipping mask in Photoshop – I always forget some steps – while clipping masks in InDesign are fairly simple.
You always need to start from a shape (container) and an image (filling).
Also when you have some text that you want to use as a container, first you need to transform the text into a shape, and then create the clipping mask.
Let’s see how to:
- Create a clipping mask in InDesign
- Create a clipping mask with a group of shapes
- Create a clipping mask with text
Important! Make sure the shape and the image are in the same layer.
Creating a clipping mask in InDesign
- Create the shape of your choice.
- If you haven’t placed the image in InDesign yet, you can select the shape you just drew and place the image inside it (File > Place > select the image to place).
- Otherwise, cut the image you already placed. Select the shape you drew. Right-click and select Paste into.
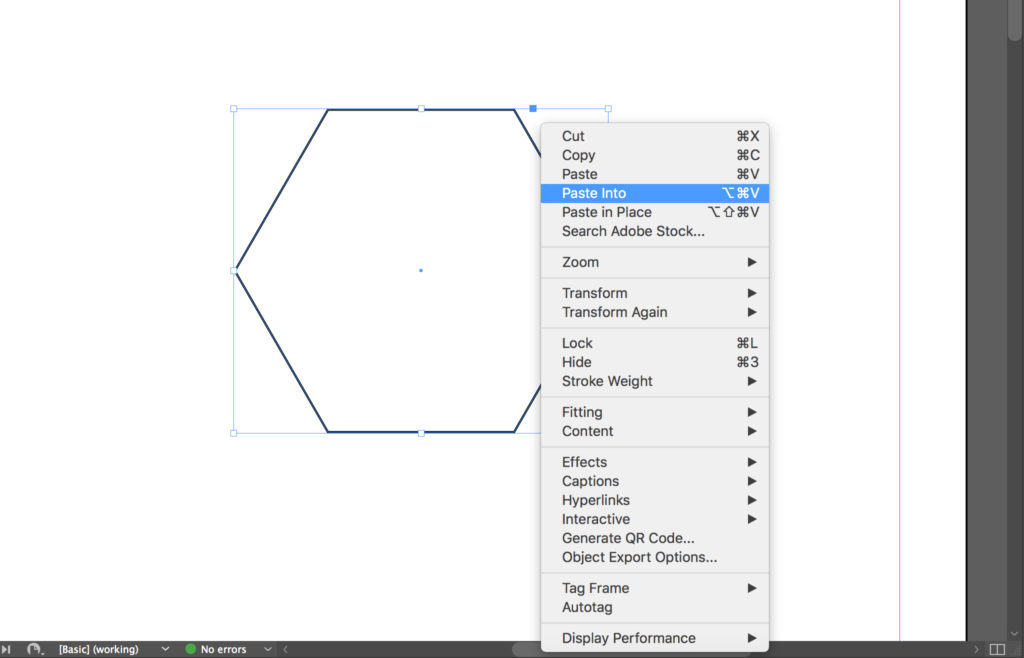
And that is done.
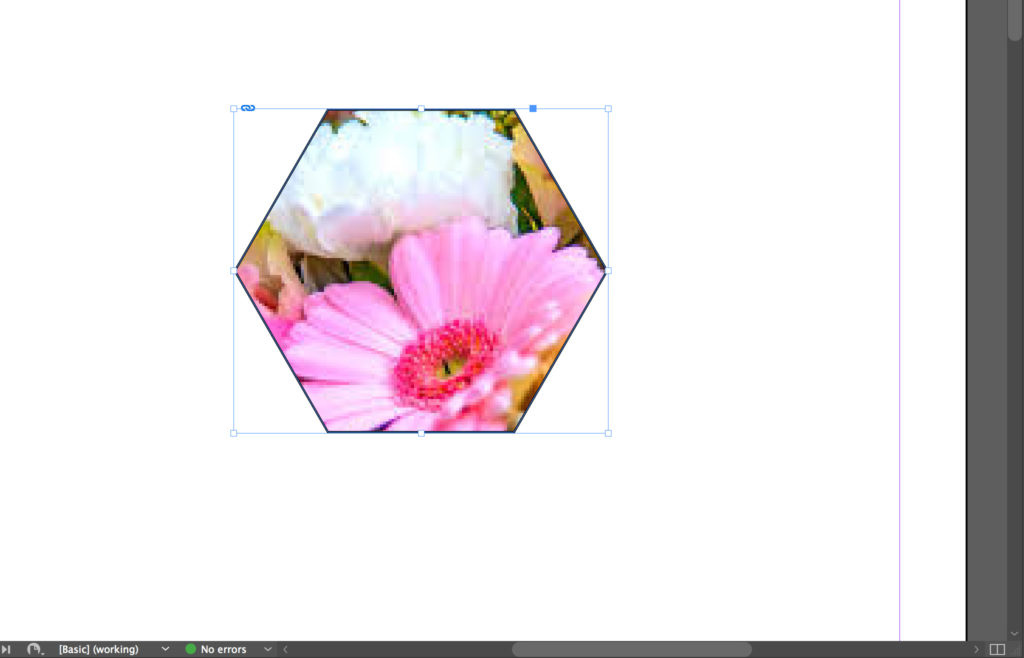
You either place the image directly into shape or you cut it and place it into the shape.
Your clipping mask in InDesign is done.
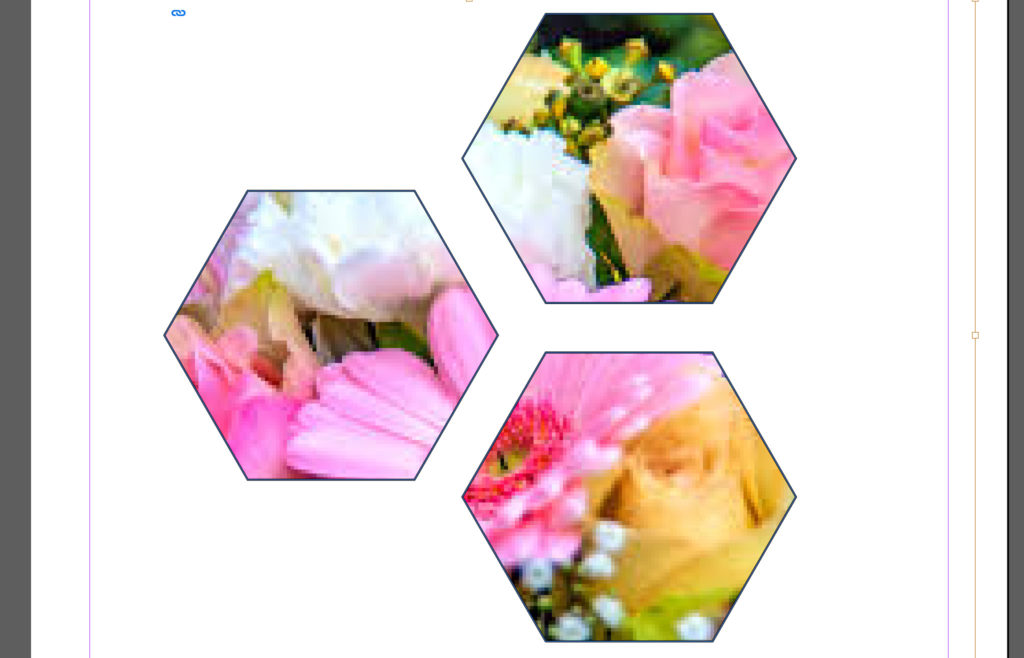
Creating a clipping mask with a group of shapes
It’s when you have a group of shapes like the one in the image below that creating a clipping mask in InDesign becomes a little tricky.
- Create your shapes. Select all of them and click on Object > Paths > Make Compound Path.
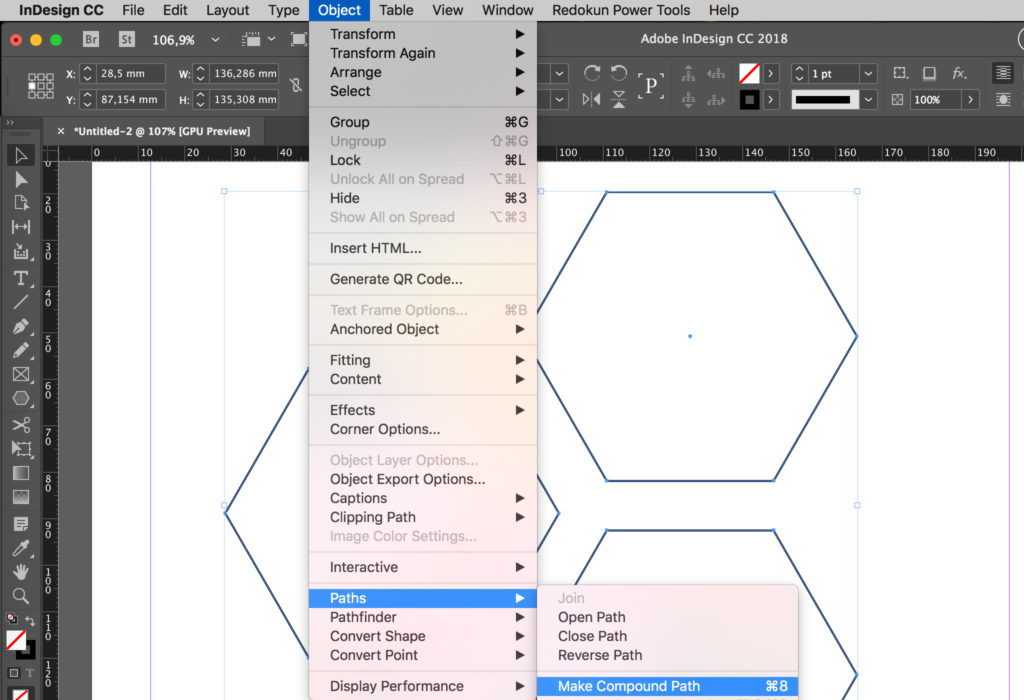
- Now, as we’ve seen above, you can either place your image from the menu File > Place or cut the image and Paste into your group of shapes.
Creating a clipping mask with text
This last part of the tutorial will answer a question I’ve been asked many times:
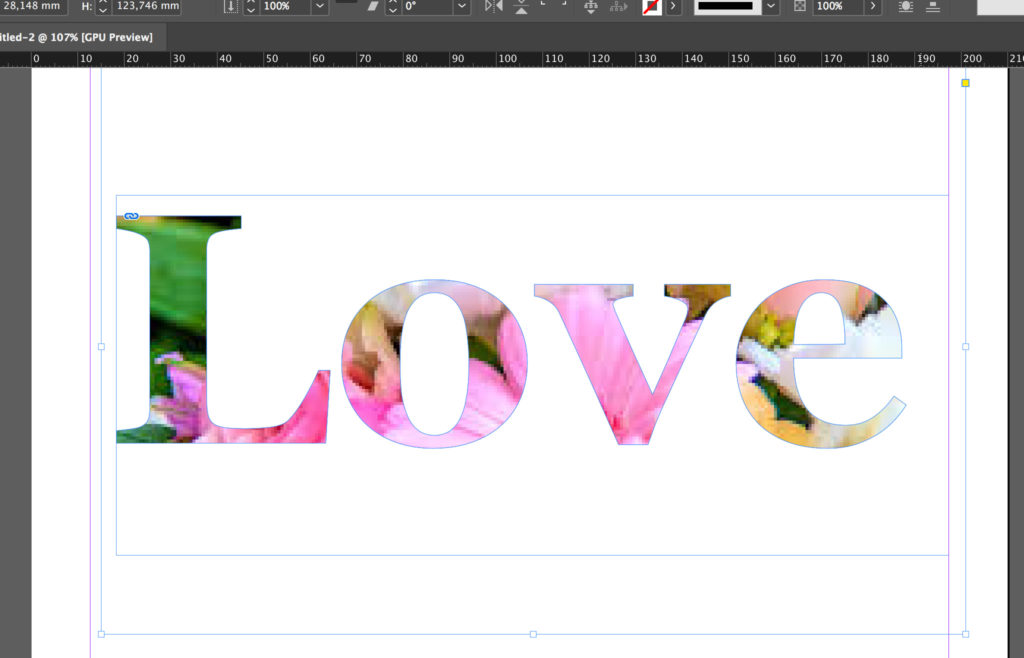
"How do you fill text with an image in InDesign?"
Very simple, you create the text, transform it into a shape, select the text, and then place your image from the menu File > Place or cut the image and Paste into the text.
To transform your text into an image, you should:
- Select the text. And click on Type > Create Outlines.
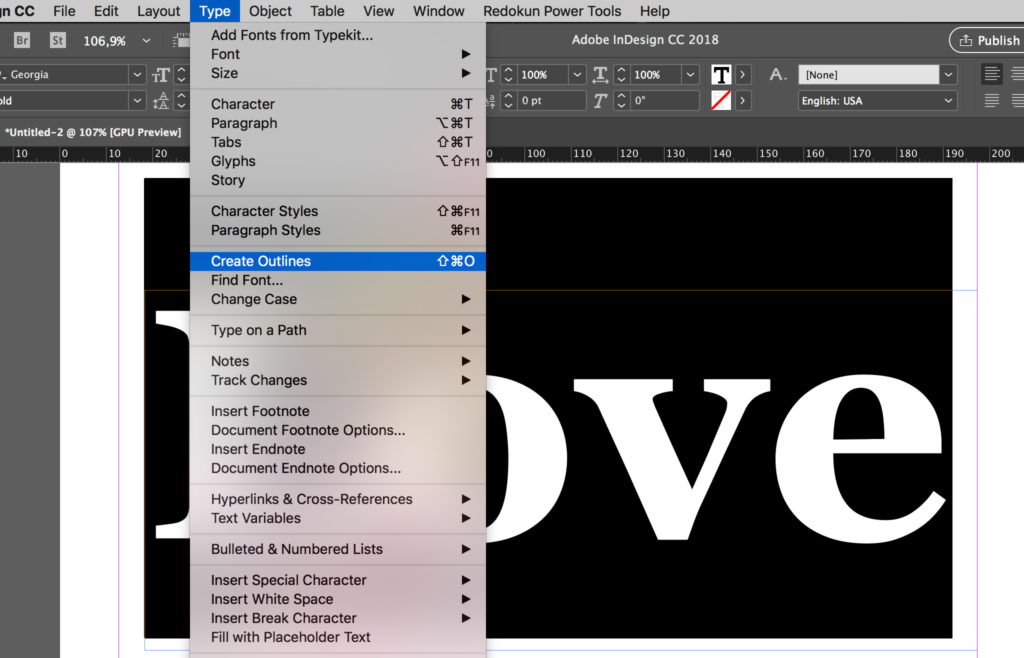
- And then as we’ve seen above select the text and either place your image from the menu File > Place (in this case make sure you are actually selecting the text) or cut the image and Paste into your text.
Creating a clipping mask with text in InDesign is exactly that simple!
One last thing, if the image doesn’t fit perfectly into your text, right-click on the text and select Fitting > Fit Frame Proportionally.
Until next time,
Stefano